A simple but fun sparkly snowflake window craft that’s sure to add some dazzle to a dreary winters day!
So, I have this east facing window in the kitchen and its pretty big. Every morning the light just comes beaming right in. And since our house is in a perpetual state of renovation there are no curtains or shades on it.
Heck, we’ve lived here for two years now and Brian only recently found the time to add some window moulding around it!
So, I like to dress that window up with fancy crafts through out the year! My favorite kinds to add to the window are any crafts that dance with the light or change when the sun shines through it.
This fall we had coffee filter tie dye leaves across the window, pin poking owl and leaf shaped cards and some wax paper pressed leaves we found on a walk.
But its winter now, so with a freshly cleared window, we needed a new project to throw up there!
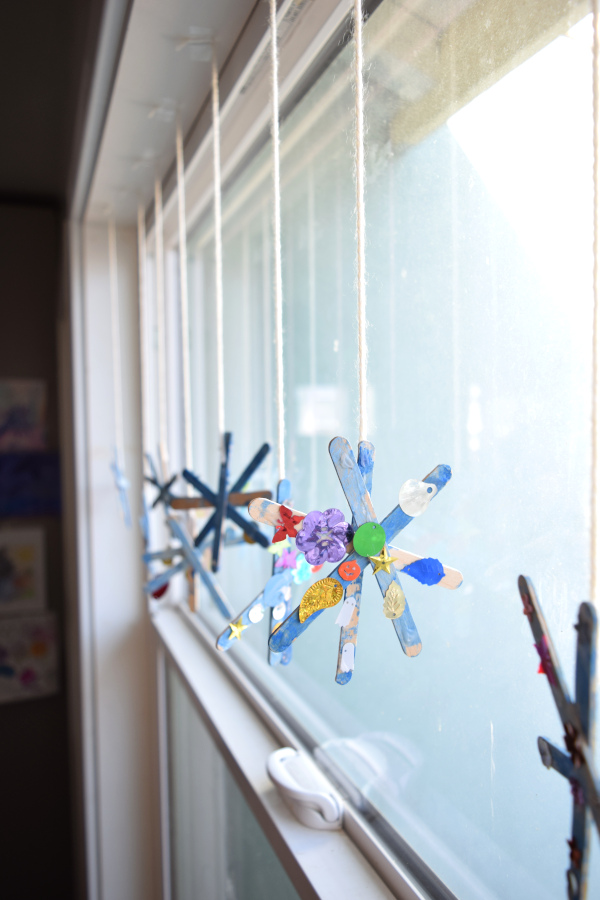
I love these cute little sparkly snowflakes the girls and I did together!

This snowflake winter craft was easy to throw together and definitely something most ages can have some sort of helping hand in.
Cora, my two year old really liked squeezing the glue and putting the sparkles on the popsicle sticks. While my four year old, Ellie, she enjoyed painting the sticks and mixing the colors to get different shades of blue.
So snazz up a window in your house and give this craft a try!
Pin this for later

Let’s create a sparkly snowflake window craft!
Grab some popsicle sticks and paint. If you don’t have popsicle sticks you could totally get a similar result with skinny sticks found from outside.

We used about four sticks per snowflake, so take that into account when determining how many you may need.
We chose white and blue paint but you can get as creative as you’d like. Paint both sides of the sticks.
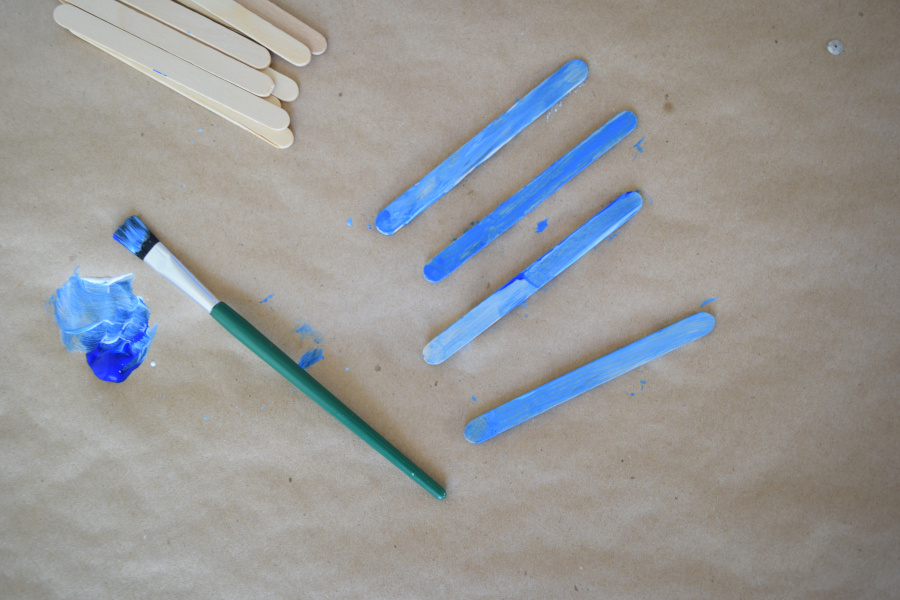
They don’t take long to dry, so once they are mostly dry you can take them and stack them to make a star or snowflake shape by adding some glue to the middle of a stick and then adding one over the top to make an X shape. Then continue adding sticks until you get the shape you like.

I let the snowflakes dry overnight for this next part but if you wanted, you would probably be fine after a few hours.
Next, you will use some glue to add your sparkle! I was out of silver glitter so we used some giant gems from a random pack found at Walmart.

Side note: If anyone has a resource for more eco friendly glitter options, please comment below! I am not replenishing our glitter supply until I can find something less harmful to our ecosystem than micro plastic.

Let your snowflakes dry some more. Once dry, cut some yarn or string to length and glue one end to the back side of the snowflake and let dry.
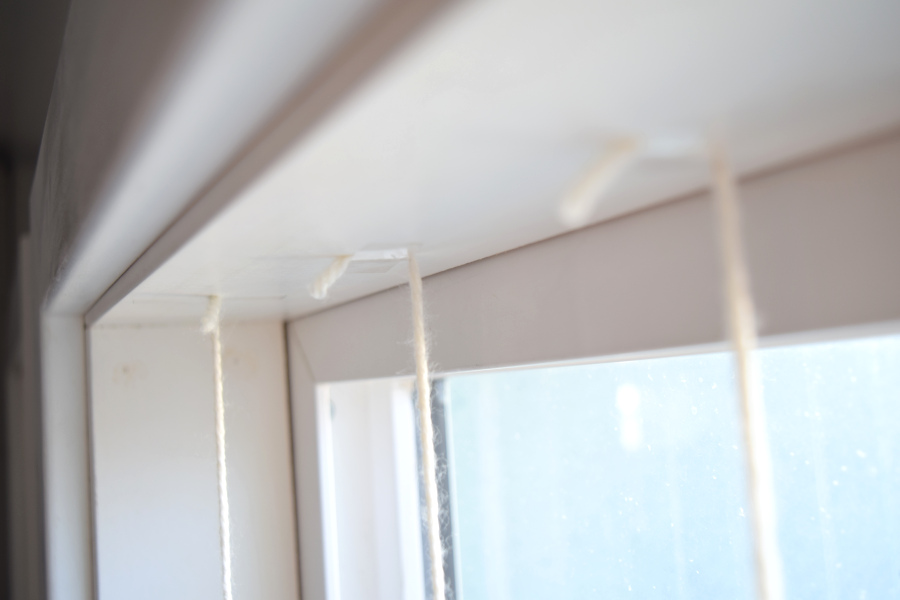
After your string end with the glue has dried, use some tape to put these sparkly window snowflakes!
Now let some light shine through the window and watch those snowflakes dazzle!

What a fun and easy craft to do with the kids!!
Thanks Karen 🙂