
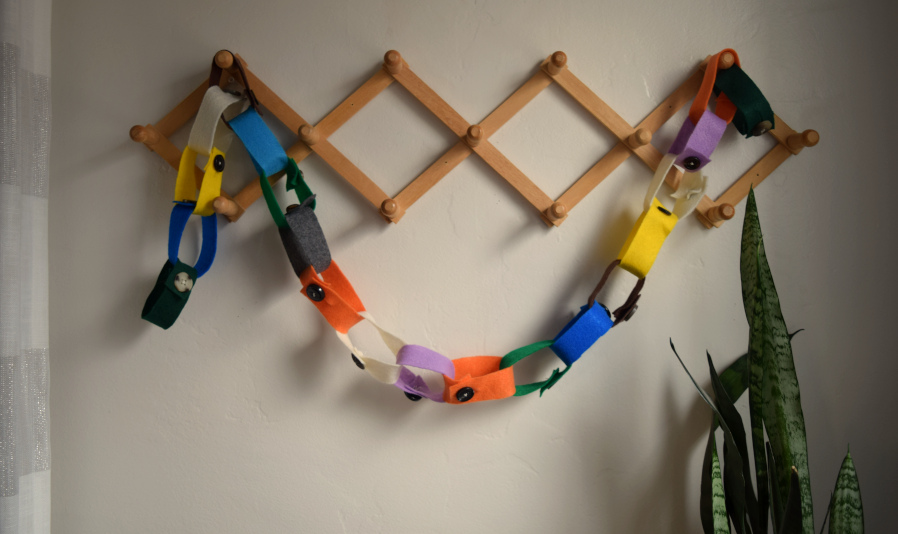
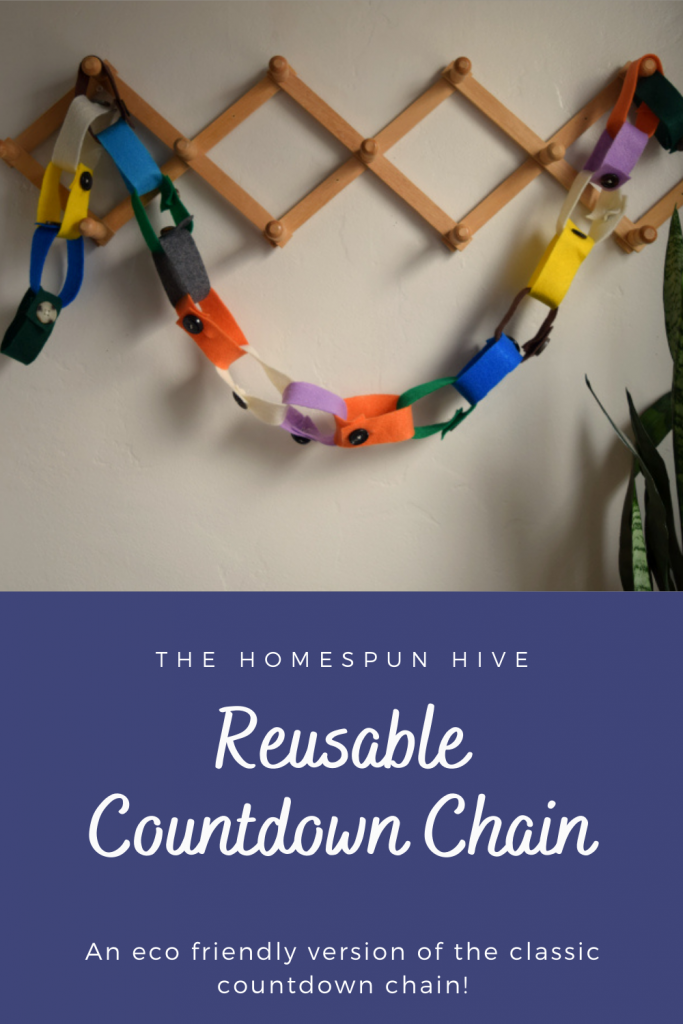
A reusable countdown chain perfect for any holiday or event!
Do you find that your kids ask you “how many days till…?” or “is tomorrow when we are going to…?” over and over and OVER? I can’t say that I blame them for asking. This DIY reusable countdown chain may help!
Children need a visual when tying to decipher timelines. Especially when they are still learning the difference from yesterday to today or what “two more weeks” really even means.
I have found myself making paper chain countdowns for many holidays and events. Halloween, Christmas and birthdays are the most popular times usually.
Not only are countdowns a great visual aid to help kids learn how much time needs to pass until an event, but they present a practical time to practice counting!
And this reusable countdown is great for fine motor practice. Handling a button is great life skills work!
I have found myself making paper chain countdowns for many holidays and events. Halloween, Christmas and birthdays are the most popular times usually.
How does a countdown chain work?
To begin, you count how many days need to pass by until the event or holiday that you are looking towards getting to.
With a traditional paper chain, you cut the same amount of strips of paper as the number of days and use glue or tape to connect them together, interlocking one circle into the other.
You will end up with a long paper chain! Day by day, you cut off one circle from the chain leading up to the event or holiday.
Until finally, you get down to the last circle and TADA! That cherished day has come!
But what do you do with that newborn paper scrap?
Toss it? Gasp! No.
Recycle it? Mmmm, better.
Throw it into your art cabinet scrap pile? You could but…
Buying paper repeatedly can start to add up!
So make some room in your budget for a few pieces of felt!
They should be less than a dollar a sheet and you wont need much for this reusable countdown chain.
Before I show you how to make this reusable countdown chain, here’s a few tips:
Find some colors that go with your house or space that you plan to use there for. You want this countdown to look cute, not be an eyesore.
This is easily customizable to any holiday or birthday child’s favorite colors.
Be sure that your buttons aren’t too heavy. A saggy countdown chain isn’t very pleasing to the eye.
Check your sewing basket for any bags of buttons that may be hiding in there. Many times, we already have the materials that are needed right in our own home. I am all about using what you have on hand!
If you don’t have buttons, Velcro dots with a bit of hot glue would work in a pinch.
Pin this for later!
Let’s make something fun!
Materials needed:

- Felt sheets
- Scissors
- Needle
- Thread
- Buttons
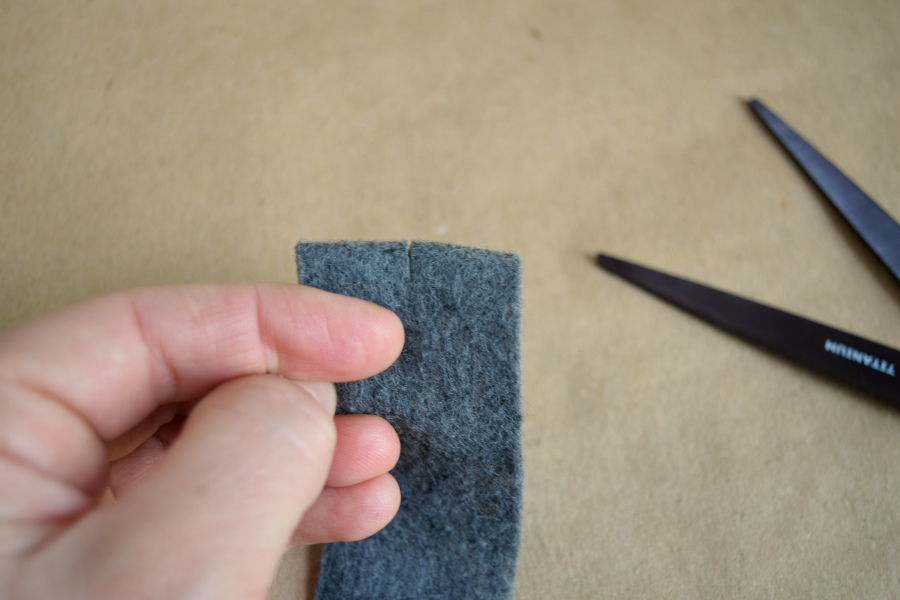
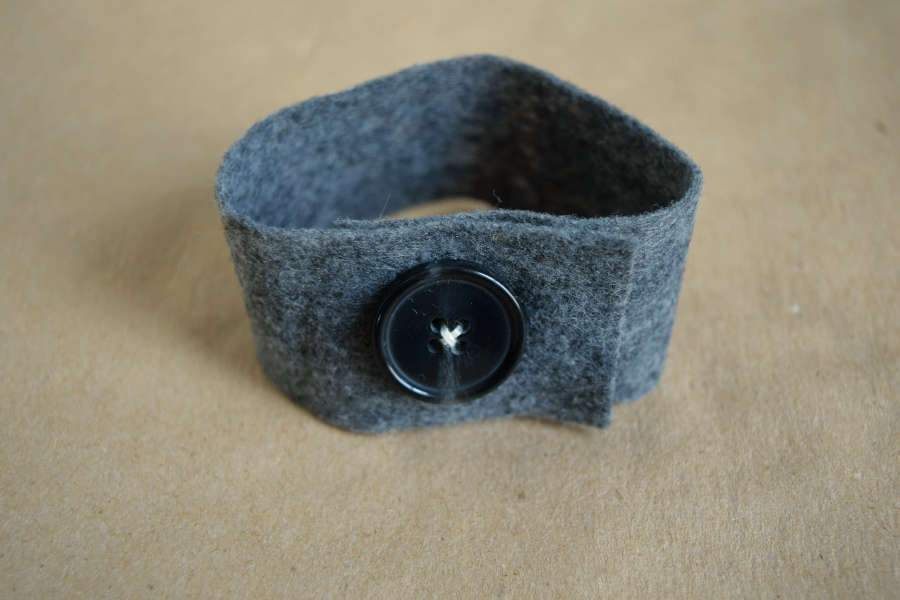
First, cut a strip about 2 inches wide across the width of your felt sheet.

Then, thread your needle and insert it close to the end of your felt strip. We need to tie a knot to keep the thread from pulling through the felt.
Don’t pull it all the way through, just before you get to the knotted end, send that needle back through the felt and between the two threads below the knot.

Pull the string tight and you have a knot.
Next, push the needle back through the felt and insert it through a button.

Send the needle through the next button hole and repeat a couple times until the button is secure.

Finally, knot your thread on the underside of the button.
Next you will fold the opposite end of your felt. Make it a small fold about a half inch from the end of the felt strip.

Use the scissors to make a small cut in that fold, that will be the hole for your button to fit through.

And you’re done!
Repeat this process as many times as you need until you have enough rings.
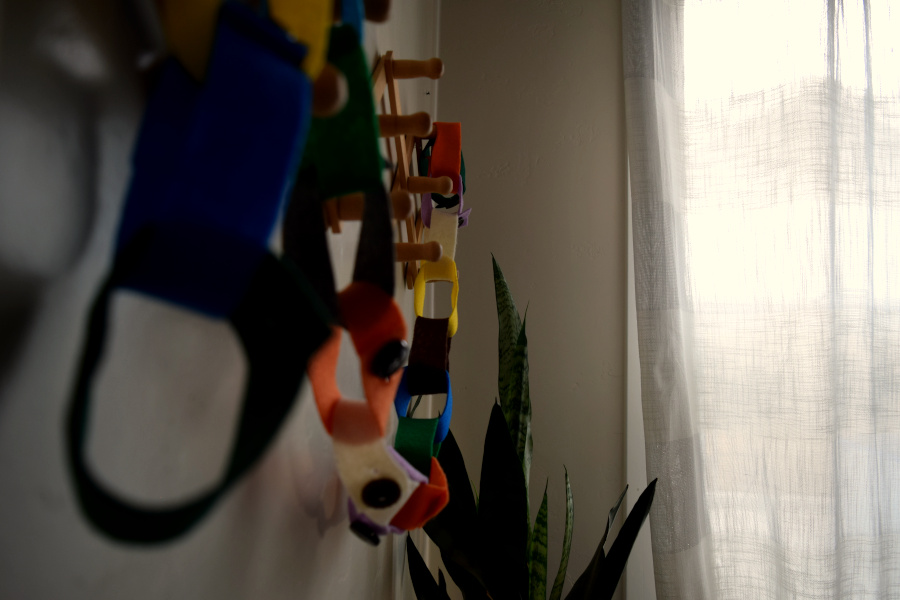
Where do you think you could hang one of these reusable countdown chains? I like to have ours up next to the homeschool vision board!

Such a perfect idea! ❤
This would of been great years ago for my older boys to do the countdown till the end of their Dad’s deployment! Thank you for the wonderful how to assemble instructions!
Awww Kim, thank you for your husband’s service and thank you for the kind words!
So much fun, and I love the idea to make it reusable!
Thanks, Liz!
How cute and clever. Love this idea. Especially for these crazy toddlers 😉
Haha, I know what you mean!
Wow, that’s such a good idea! I love a craft that replaces waste 👍
Thank you Ruby, me too!